Cloud Printing Account Setup and Agent Configuration Guide
Overview
This document provides the information on how to create cloud printing account, configure cloud printing, install and active bartender software, and enable cloud printing in agent computer.
Create Cloud Printing Account
To create a cloud printing account, perform the following steps:
-
Go to Account Services page in production environment, or to the Swagger UI page for Aptean Cloud Print Services.
-
For Account Services page in production environment, go to https://print.api.apteancloud.com/swagger-ui.html%23/account-services in a browser. The browser prompts for username and password.
Enter the AccountId and APIkey of the master account as Username and Password, and click Sign In.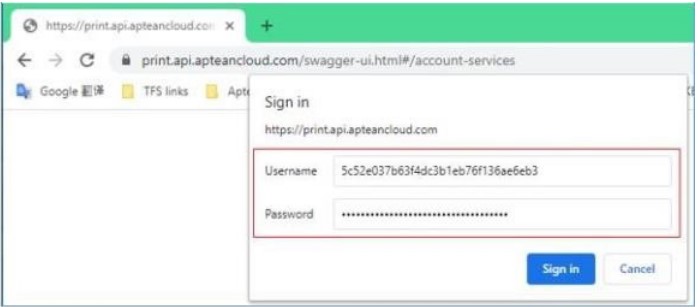
-
For Swagger UI page, go to https://print.api.apteancloud.com/swagger-ui.html#/ in a browser. It requires UserName and Password to login. Use the following details as username and password.
-
accountId: 4572cfbc37e545acb3cb54d023b0714d
-
apiKey: API337ff2199f0d4676b44461aecfb5ebff
-
Do not share the above account details to customer. -
-
Generate the child accounts for each customer.
Each tenant or customer requires a separate account as the account isolates the customers’ agents, printers, and jobs from other users of the service. -
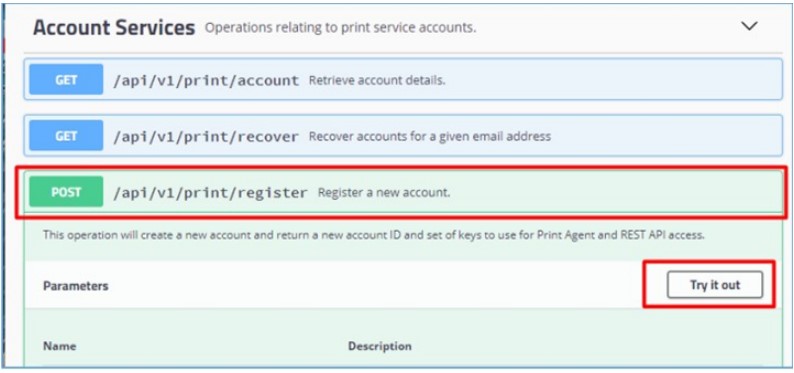
Under Account Services, click the POST request, and then click the Try it out button.
-
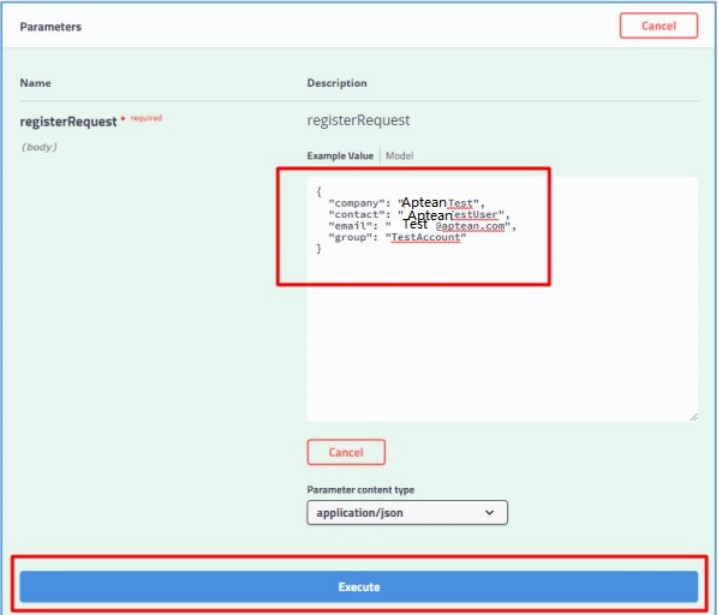
Update the strings of the registerRequest parameter as follows:
-
company - A free form text that is the company name of the customer. There is no limit on size.
-
contact - A free form text that is the contact name or address of the customer. There is no limit on size.
-
email - Enter the (for example) [email protected] email address. This field is critical as it is used by the /recover API to get back the account details through email if the users lose their account information.
-
group - An optional field, free form again, however, this is the group to which the user belongs.
-
Refer the below image for a sample:
-
-
After updating the strings, click the Execute button.
-
Wait for few minutes, an account will be generated in the Response body. This is the account generated for a customer which contains AccountID, APIKey, and AgentKey.
-
Click the Download button to save the account information in a .JSON file.
-
You can provide the following details to the customer (for Production mode)
-
Account ID
-
API Key
-
Agent Key
For Staging mode, please confirm the Print Agent Host URL with the Cloud Printing team. -
The customers can use the Account ID and API Key in the Cloud Printing Maintenance screen in OneEAM to set cloud printing, and use the Account ID and Agent Key when installing the Cloud Printing Agent.
Configure Cloud Printing in Agent Computer
Configuring cloud printing in agent computer includes:
- Downloading Cloud Printing Agent
- Installing Cloud Printing Agent
- Configuring Agent Computer for Label Printing
Download Cloud Printing Agent
To download cloud printing agent, perform the following steps:
-
Go to the Production environment home page (https://print.api.apteancloud.com/) in a browser.
:
If it prompts for a username and password, enter the Account ID and API Key to login.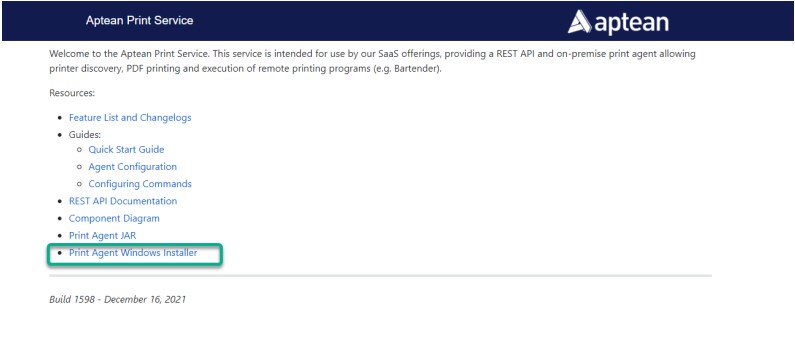
-
In the Aptean Print Service page, click the Print Agent Windows Installer link to download the ApteanPrintAgentSetup.exe file.
Install Cloud Printing Agent
The Cloud Printing Agent must be installed locally on the Agent Computer, at the user side, which
is used to receive printing jobs. The print jobs are directed from Cloud Printing Service to the local
printers through the Print Agent.
To install the cloud printing agent, perform the following steps:
-
Double-click ApteanPrintAgentSetup.exe file that you downloaded from the Production environment home page https://print.api.apteancloud.com/.
The welcome page appears.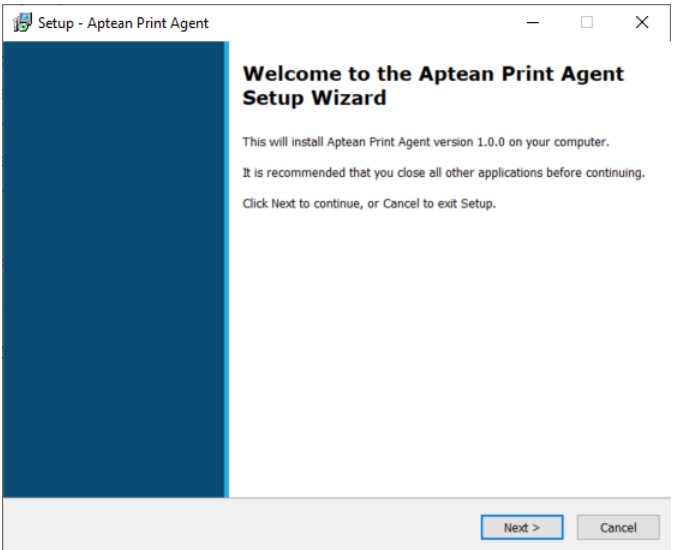
-
Click Next.
-
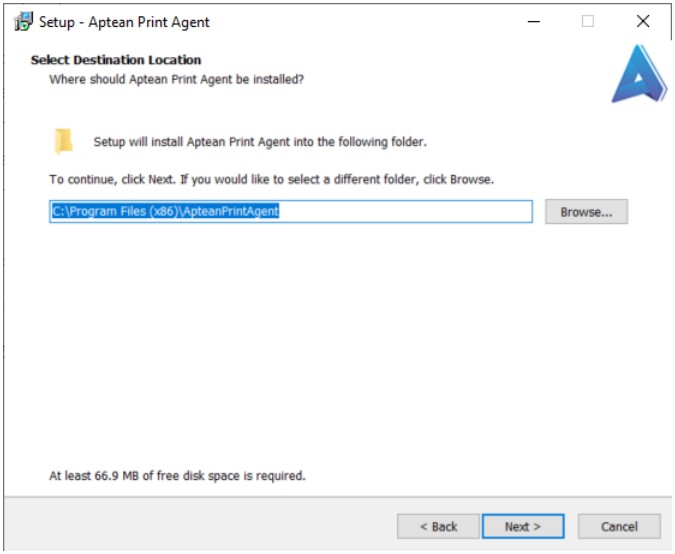
In the Select Destination Location screen, select the default folder or a folder in a location of your choice to install the Aptean Print Agent, and then click Next.
-
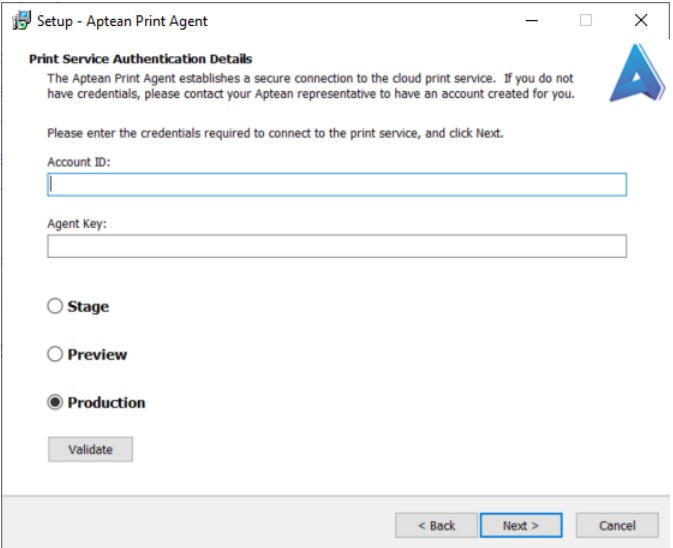
In the Print Service Authentication Details screen, enter the Account ID and Agent Key, and then select Production.
:
If you want to validate the account entered, click the Validate button. If the account ID and Agent Key are correct, the Credential validation successful message appears.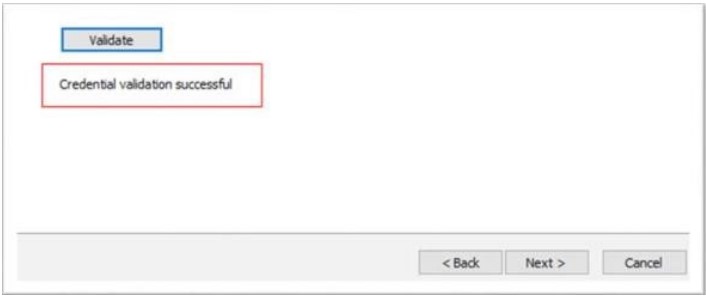
-
Click Next.
-
In the Ready to Install page, click the Install button.

Wait until the installation is completed.
Configure Agent Computer for Label Printing
To configure the agent computer for label printing, perform the following steps:
-
Download the EAMLabelPrintIntegration.rar from the SharePoint.
-
Unzip the download RAR file and copy the entire folder to directory C:\Program Files\Aptean on Agent computer, as shown below:

-
Go to the ApteanPrintAgent folder, and open the application.yaml file for edit.
Normally, you can see the ApteanPrintAgent folder at C:\Program Files(x86).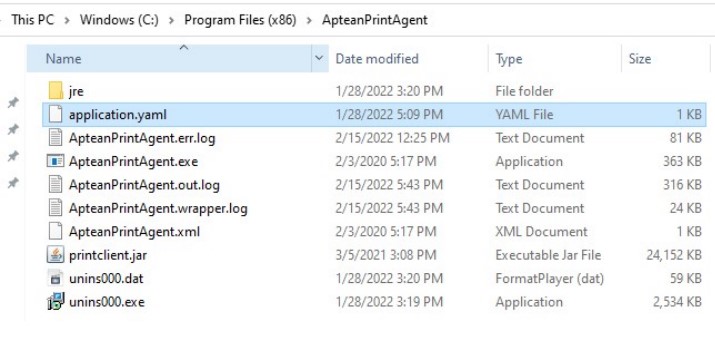
Copy the below information to the file and update the values highlighted in blue (no need to change other config information).
     computerName: APT05-XXXXXXX
     commands:
     -name: LabelPrinter
     command: C:\Program Files\Aptean\EAMLabelPrintIntegration\EAMLabelPrintIntegration.exe
     working-dir: c:\tmp
     arguments: [ "--file", "$(FILENAME)" ]
     drop-dir: c:\tmp
     delete-file: false
     -name: Local Drop
     drop-dir: C:\tmp\tmp
Do not change any format in above commands, even the spaces before each line. Otherwise, the Agent service may not be started.
The updated file cannot be directly saved in this folder to replace the original one. Save it on another place first, for example, on the desktop, then copy it to this folder to replace the original one.
Install and Activate Bartender software in Agent Computer
To install and activate the latest Bartender software in Agent Computer, perform the following steps:
-
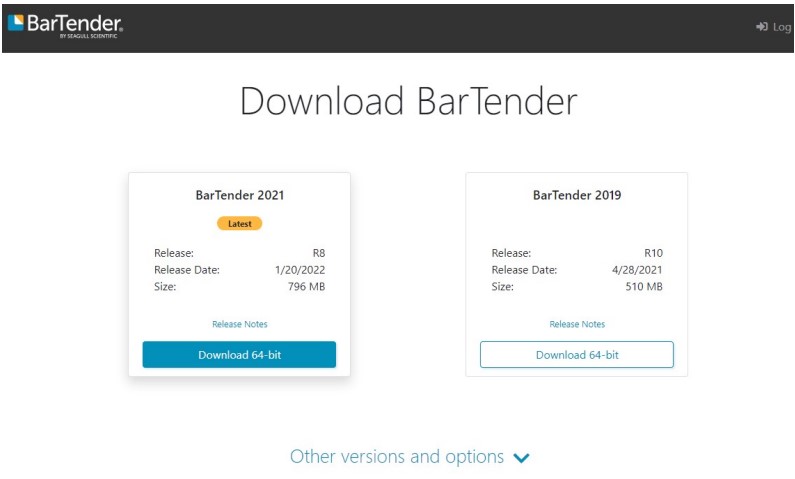
Download the latest Bartender installation file from the BarTender download page and install it on the agent.
-
For the company, you can purchase the official license key to activate it.
-
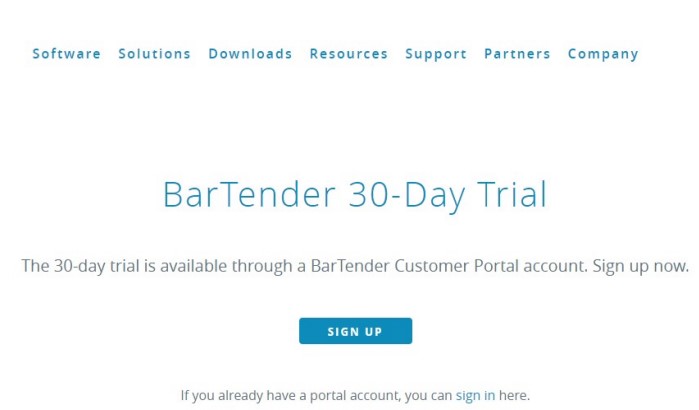
For the internal testing, you can apply for a 30-Day Trial in through following URL: Download 30-Day Trial | BarTender (seagullscientific.com)
-
After installing the BarTender software, enable the Cloud Printing option in OneEAM, and fill in the account information.
Enable Cloud Printing in OneEAM
To enable cloud printing in OneEAM, perform the following steps:
-
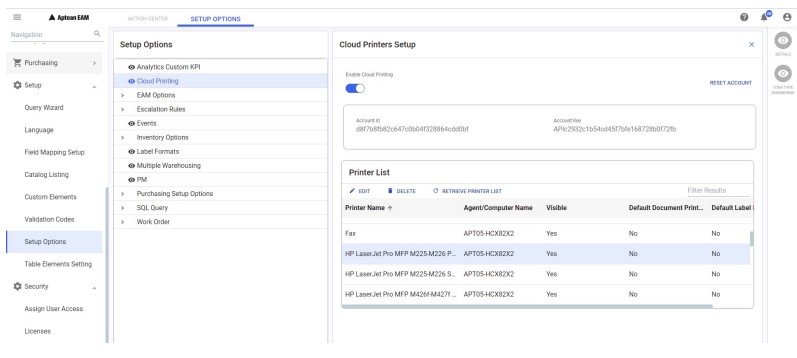
From the left panel, navigate to Setup > Setup Options.
-
In the Setup Options panel, click Cloud Printing.
-
From the right panel, turn on the Enable cloud Printing toggle button.
-
In the AccountId field, enter the account id.
-
In the Account Key field, enter the API key.
-
Click the SETUP ACCOUNT button. All the available physical printers installed on the agent computer will be displayed in the Printer List section.
The Cloud Printing option will be enabled for Work Management, Requisition , Purchasing, Picklist, and Cycle Count modules. The Print Labels option will also be enabled for Inventory module. You can reset the account configured using the RESET ACCOUNT button.