Aptean CRM
To activate Aptean CRM, follow the steps below:
- Navigate to All Apps, on the Aptean CRM application tile, click Activate.
The Activation Confirmation window appears.
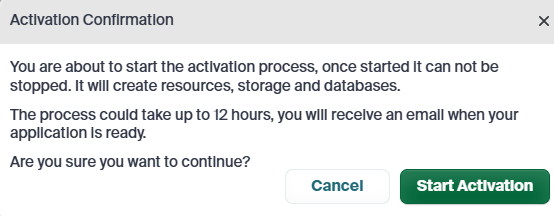
- Click Start Activation.
- The Activate button changes to a gear icon, indicating that the activation process has started.
- The application tile displays Initiated Activation, then updates to Deployment Started.
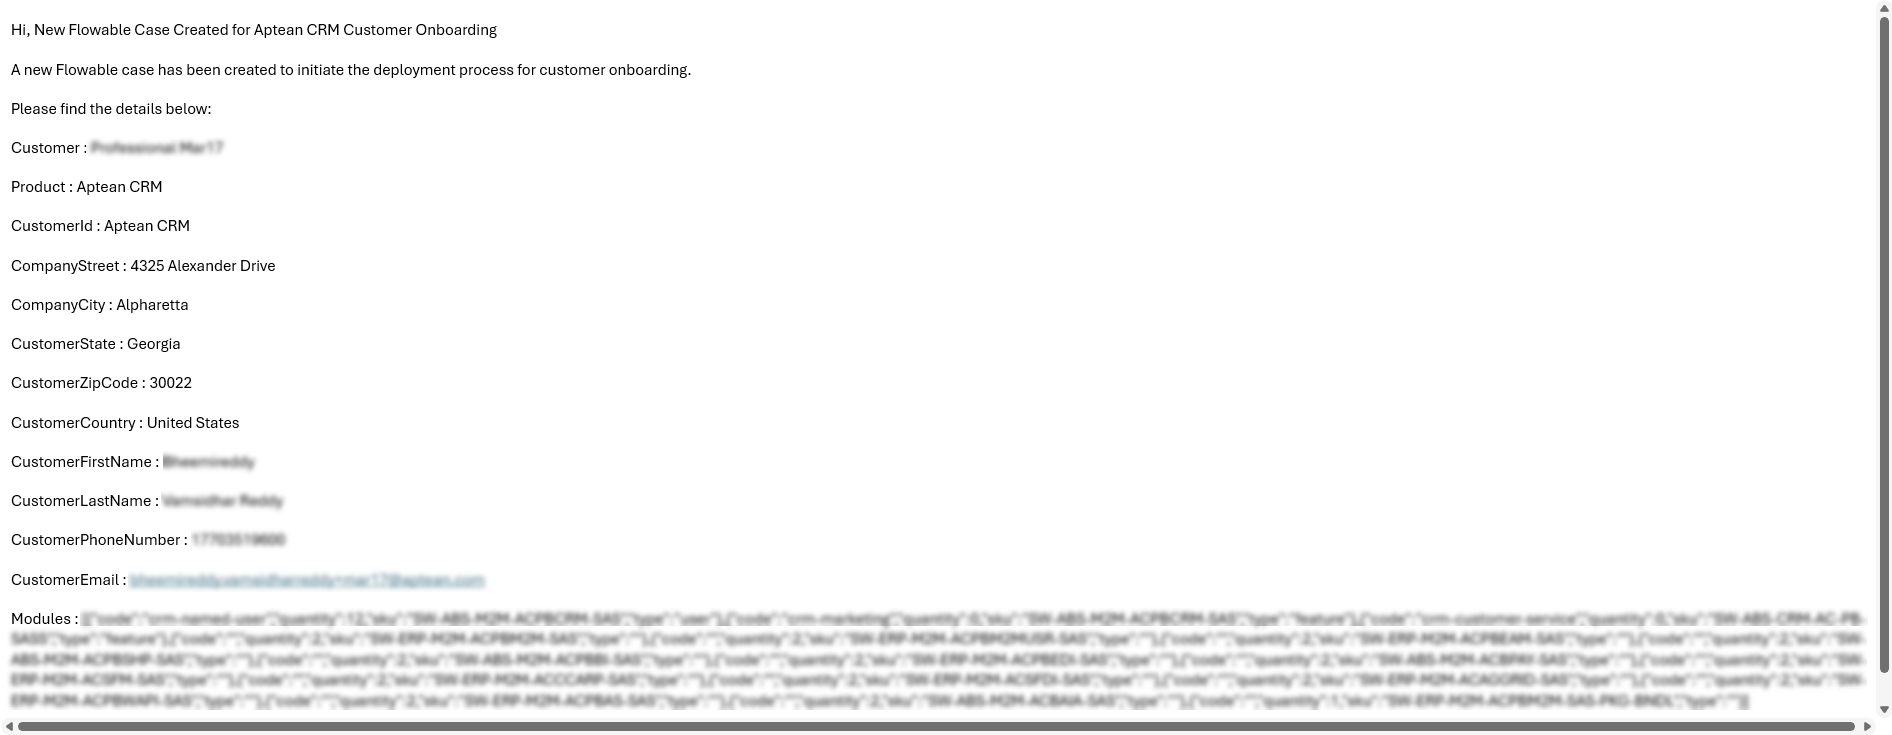
- A Flowable case is created to initiate the deployment process for customer onboarding, and a collaboration email is sent to the support team containing the following details:
- Customer Information: Name, Customer ID, First Name, Last Name, Phone Number, and Email
- Company Information: Street, City, State, Zip Code, and Country
- Product and Modules details
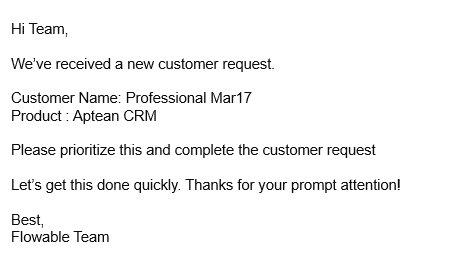
- A notification email is sent to the support team regarding the customer request, in the following format.
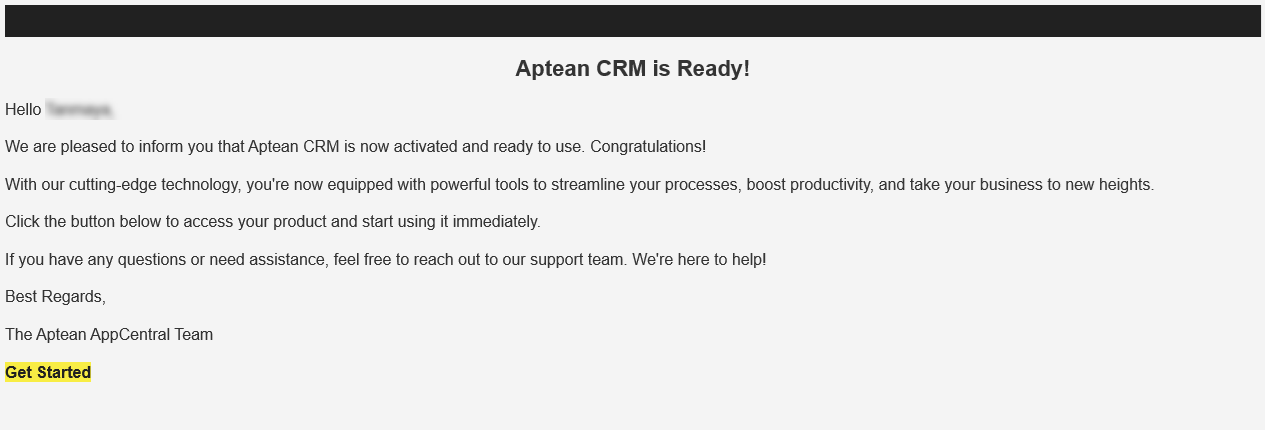
- Once the activation is complete, you will receive a confirmation email stating that Aptean CRM is active on Aptean AppCentral.
-
Click Get Started to launch Aptean AppCentral in the confirmation email and click Setup. OR
-
Click the Setup button on Aptean CRM tile in the Aptean AppCentral.
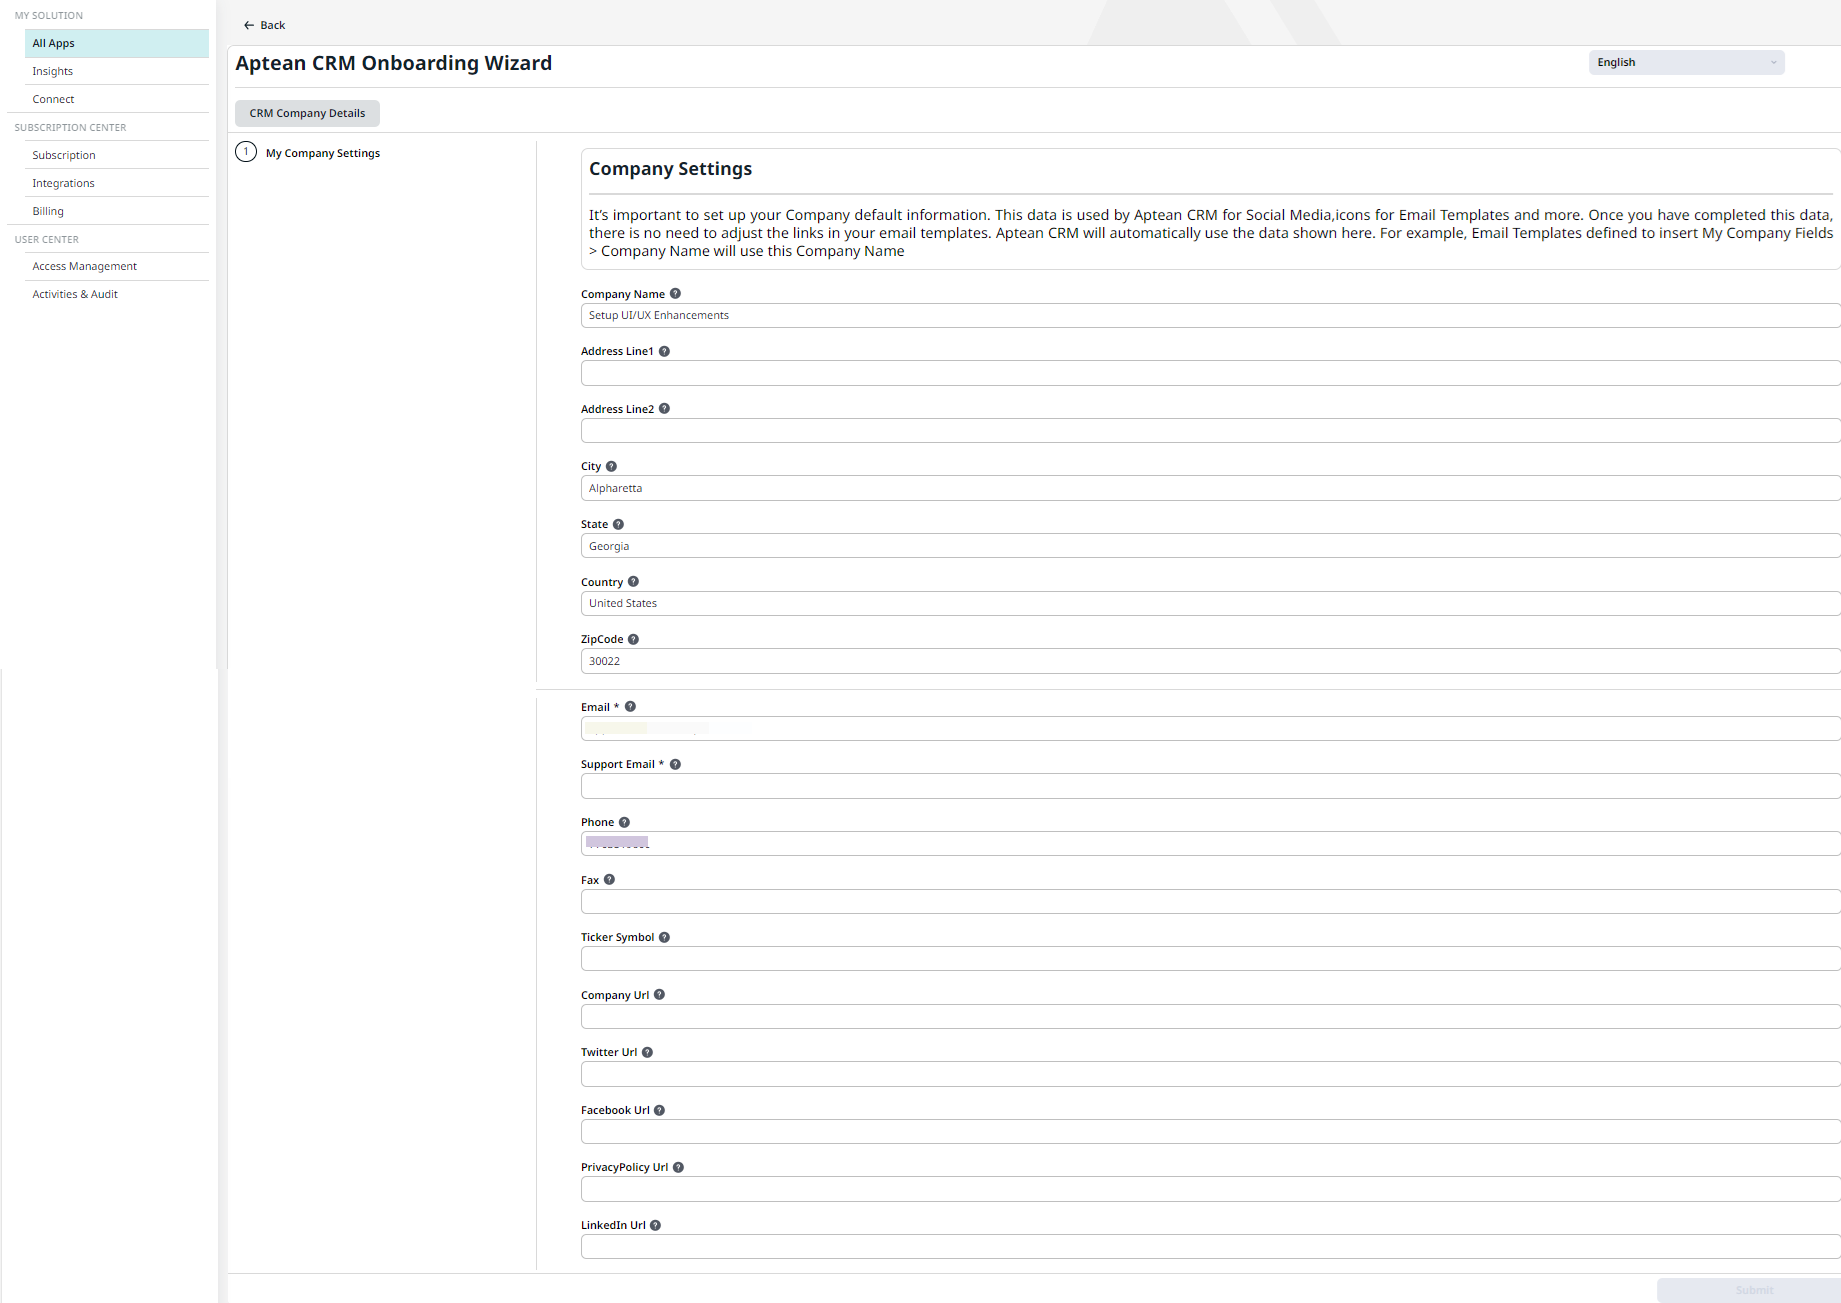
The Aptean CRM Onboarding Wizard window appears. -
On the CRM Company Details screen, a few text fields are auto populated based on the information you provided during your license subscription.
-
To view the specification for each text field, hover over the information icon, and enter the required details, and then click Submit.
After the setup process, the Aptean CRM tile displays the Open button indicating the application setup is successful. Note: The Submit button is enabled only when you enter details in the mandatory fields.
- Click Open.
The Aptean CRM loading screen appears at startup, it leads to the CRM Workspace after your profile is loaded.